welcome
-
linshizi@fortismate.com ; sales@fortismate.com



Bathroom Waterproofing: Complete Guide to Waterproofing Bathroom Floors and Walls
Bathrooms are among the most frequently used wet areas in residential and commercial buildings. Constant exposure to water, humidity, and moisture can gradually cause problems such as water leakage, mold growth, damaged finishes, and deterioration of surrounding building structures.
This is why bathroom waterproofing should not be treated as an optional step. A properly designed waterproofing system helps prevent water from penetrating floors and walls and provides long-term protection for the building.
In this guide, FortisMate explains what bathroom waterproofing is, why it matters, which waterproofing materials can be used, and how to create an effective waterproofing system for bathroom floors and walls.
What Is Bathroom Waterproofing?
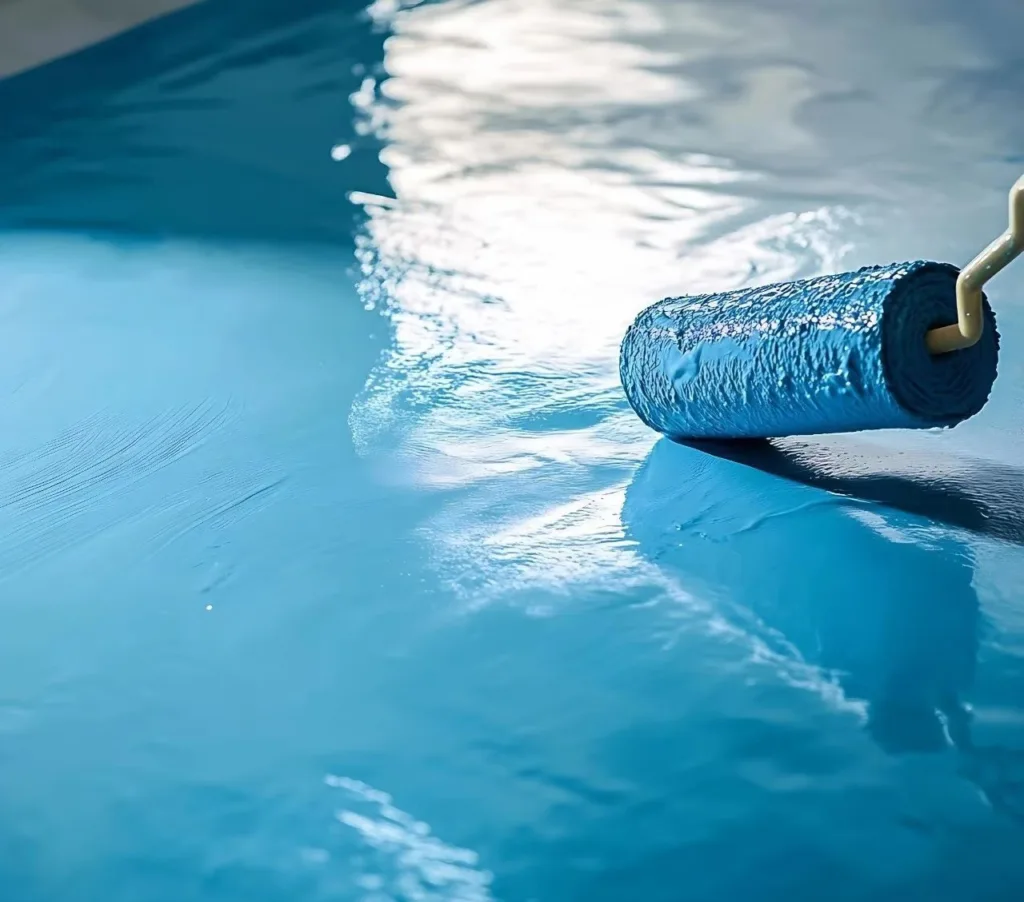
Bathroom waterproofing is the process of creating a continuous water-resistant barrier on surfaces exposed to water and moisture.
Depending on the project requirements, a bathroom waterproofing system may include:
- Waterproofing membranes
- Liquid-applied waterproofing coatings
- Polymer-modified cementitious waterproofing
- Self-adhesive waterproofing membranes
- Primers and surface preparation materials
- Joint and crack treatment systems
- Waterproofing accessories for penetrations and transitions
The purpose is simple: prevent water from entering the building structure.
A good waterproofing system should not only resist water penetration but also provide reliable adhesion to the substrate and maintain its performance under repeated wetting and drying conditions.
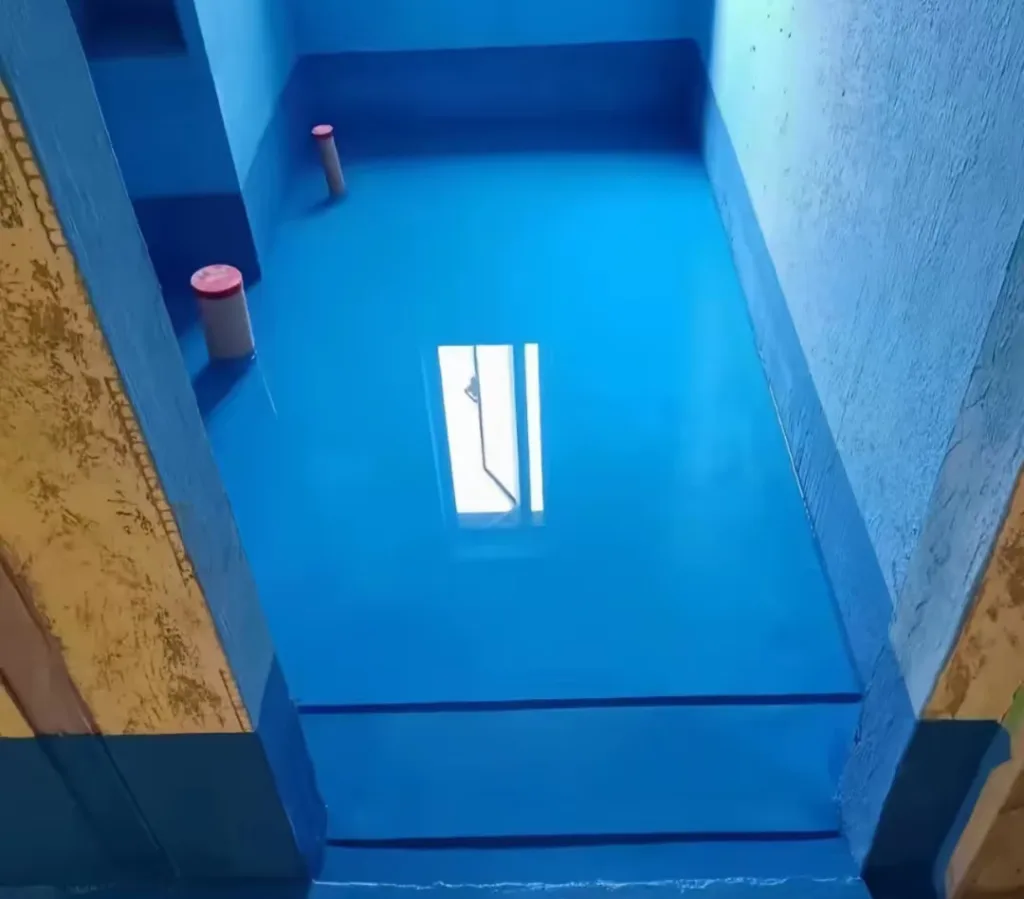
Why Is Bathroom Waterproofing Important?
Bathrooms are constantly exposed to water from showers, bathtubs, sinks, toilets, and cleaning activities.
Without an effective waterproofing system, moisture can penetrate through tile joints, cracks, floor slabs, wall surfaces, and pipe penetrations.
Over time, this can lead to:
1. Water Leakage
Water can migrate through the bathroom floor and reach the ceiling or rooms below. Leakage can become particularly difficult to repair after tiles and finishes have already been installed.
2. Mold and Moisture Problems
Persistent moisture creates favorable conditions for mold and other microorganisms. Proper waterproofing helps reduce the amount of moisture entering building structures.
3. Damage to Building Materials
Repeated water exposure can damage concrete, plaster, screeds, finishes, and other construction materials.
4. Expensive Repairs
Repairing a waterproofing failure after a bathroom has been completed can require removing tiles, screed, or other finishes.
For this reason, waterproofing should be considered during the initial construction or renovation stage, rather than after water leakage occurs.
Where Should Waterproofing Be Applied in a Bathroom?
A bathroom waterproofing system should focus on areas with the highest exposure to water.
These commonly include:
- Bathroom floors
- Shower areas
- Areas around bathtubs
- Bathroom walls in wet zones
- Floor-to-wall junctions
- Pipe penetrations
- Drainage areas
- Corners and construction joints
The exact waterproofing height and coverage should be determined according to the building design, local regulations, substrate conditions, and project requirements.
How to Waterproof a Bathroom Floor
A reliable waterproofing bathroom floor system generally involves several important stages.
Step 1: Prepare the Substrate
Surface preparation is one of the most important parts of bathroom waterproofing.
The substrate should be:
- Clean
- Stable
- Free from dust and loose particles
- Free from oil and contaminants
- Properly leveled
- Free from significant cracks or defects
Uneven areas, cracks, holes, and weak surfaces should be repaired before waterproofing begins.
A waterproofing membrane cannot compensate for a poorly prepared substrate.
Step 2: Treat Cracks, Corners and Joints
Corners and transitions between the floor and wall are particularly important because movement and stress can occur in these areas.
Special attention should also be given to:
- Floor-to-wall junctions
- Construction joints
- Pipe penetrations
- Drain connections
- Cracks
- Changes in substrate direction
Depending on the waterproofing system, reinforcement tape, sealants, or compatible accessories may be used to improve the reliability of these details.
Step 3: Apply Primer When Required
Some waterproofing systems require a primer before the main waterproofing layer.
The primer can help improve adhesion between the substrate and waterproofing material.
The correct primer should always be selected according to the waterproofing system and substrate.
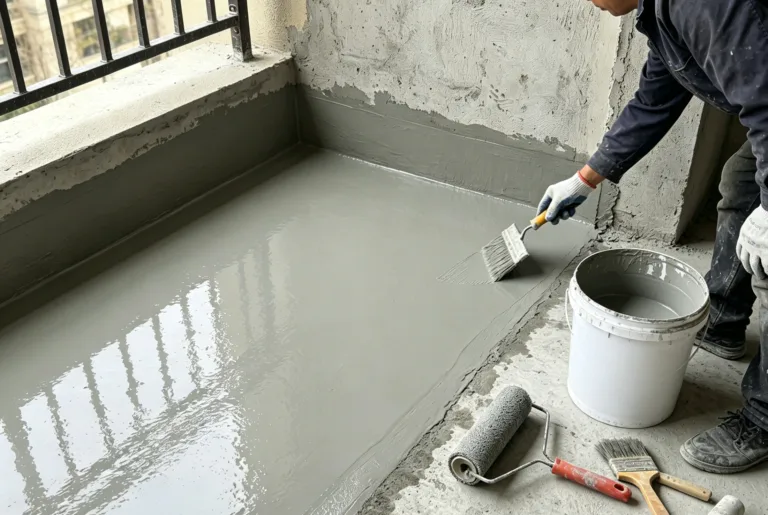
Step 4: Apply the Waterproofing Layer
The selected waterproofing material is then applied according to the manufacturer’s technical requirements.
Depending on the project, this may be a liquid-applied coating, cementitious waterproofing system, self-adhesive membrane, or another compatible waterproofing membrane.
For liquid-applied systems, achieving the specified coverage and thickness is particularly important.
For sheet membranes, correct overlapping, bonding, detailing, and sealing are essential.
Step 5: Pay Special Attention to Drainage and Pipe Penetrations
Bathrooms contain many penetrations and drainage points.
These areas can become weak points if they are not properly detailed.
The waterproofing system should be carefully integrated around:
- Floor drains
- Water supply pipes
- Waste pipes
- Shower fittings
- Other service penetrations
Step 6: Inspect and Test the Waterproofing System
Before covering the waterproofing layer with tiles or other finishes, the completed system should be inspected.
Where appropriate and permitted by the project specifications, a water-retention or flood test can be carried out to check for leakage.
The testing procedure and duration should follow local requirements and project specifications.
How to Waterproof Bathroom Walls
Bathroom wall waterproofing is equally important, particularly in shower areas and other zones directly exposed to water.
The basic process includes:
- Clean and prepare the wall surface.
- Repair cracks, holes, and uneven areas.
- Treat corners and wall-to-floor transitions.
- Apply the recommended primer if required.
- Apply the waterproofing system at the specified thickness.
- Reinforce critical joints and penetrations where required.
- Allow the system to cure according to the manufacturer’s instructions.
- Inspect the completed waterproofing before installing the final finish.
The waterproofing height should not simply be selected based on a universal number. It should be determined according to the bathroom layout, water exposure, applicable standards, and project requirements.
Which Material Is Best for Bathroom Waterproofing?
There is no single waterproofing material that is ideal for every bathroom.
The right solution depends on the substrate, construction method, water exposure, movement requirements, installation conditions, and project specifications.
Common options include:
Polymer-Modified Cementitious Waterproofing
Polymer-modified cementitious waterproofing materials are widely used for wet areas.
They can provide good adhesion to mineral substrates and can be suitable for concrete, cement mortar, and similar surfaces when properly specified and applied.
FortisMate’s WBC Series includes polymer-modified cementitious waterproofing solutions designed to form a continuous waterproofing layer on suitable substrates.
Self-Adhesive Waterproofing Membranes
Self-adhesive membranes provide another approach to waterproofing.
Because they do not require torch application, cold-applied self-adhesive systems can be useful where flame-free installation is preferred.
FortisMate offers self-adhesive waterproofing membrane solutions for different construction applications, subject to the specific system and project requirements.
HDPE Waterproofing Membranes
HDPE-based waterproofing membranes provide a durable sheet-based waterproofing solution and can be considered for projects where high mechanical resistance and reliable waterproofing performance are required.
TPO and PVC Waterproofing Membranes
Synthetic waterproofing membranes such as TPO and PVC are commonly used in various waterproofing applications.
Their suitability for bathroom or wet-area applications depends on the specific product, detailing requirements, substrate, and project specifications.
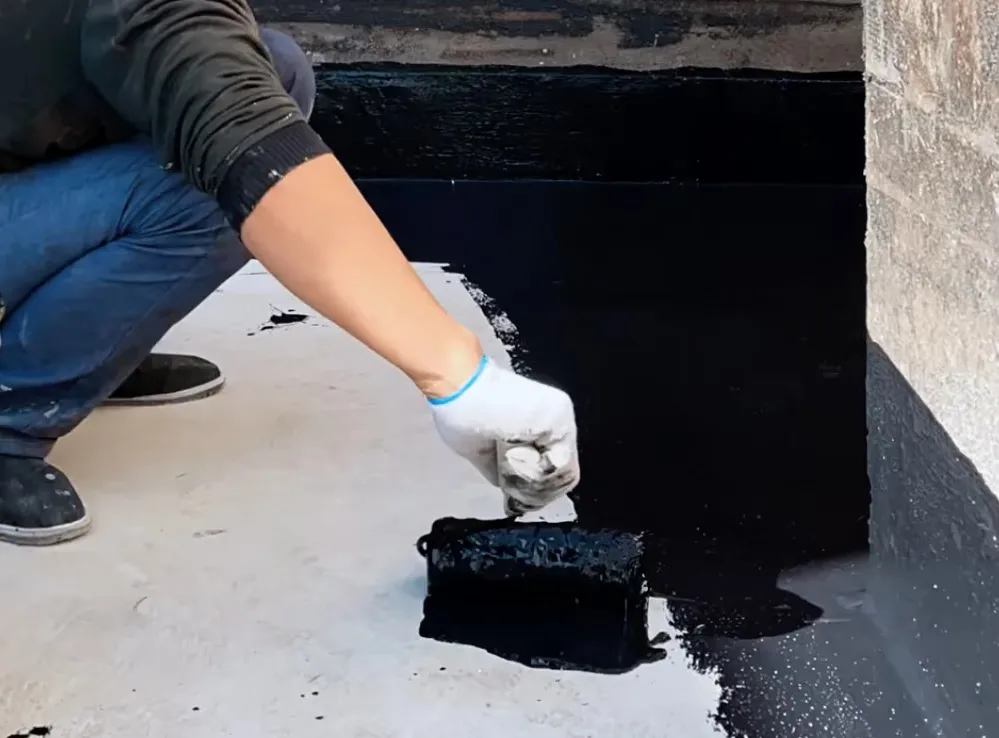
Bathroom Waterproofing Membrane vs. Liquid Waterproofing
Both sheet membranes and liquid-applied waterproofing systems can be used in wet-area applications, but they have different characteristics.
| Feature | Sheet Waterproofing Membrane | Liquid Waterproofing |
|---|---|---|
| Application | Preformed membrane | Applied directly to substrate |
| Thickness control | Factory-controlled membrane thickness | Depends on application |
| Joints | Requires overlapping/sealing | Can form a seamless layer |
| Complex details | Requires careful detailing | Can conform to irregular surfaces |
| Installation | Requires membrane handling | Requires controlled application |
| Suitable applications | Depends on membrane type | Depends on coating type |
The best choice depends on the project rather than simply choosing the “strongest” material.
Common Bathroom Waterproofing Mistakes
Even high-quality waterproofing materials can fail when the installation is not properly executed.
Some common mistakes include:
Poor Surface Preparation
Dust, laitance, oil, weak concrete, and other contaminants can reduce adhesion.
Insufficient Waterproofing Thickness
Applying too little material can result in inadequate waterproofing performance.
Ignoring Corners and Joints
Corners, floor-to-wall transitions, and penetrations require careful treatment.
Incorrect Membrane Overlaps
For sheet membranes, insufficient overlap or poor sealing can create potential leakage paths.
Waterproofing Only Around the Drain
Waterproofing should be designed as a complete system rather than treating only individual leakage points.
Installing Tiles Too Early
Waterproofing materials need sufficient curing time before subsequent construction layers are installed.
Always follow the product’s technical data sheet and the requirements of the specific waterproofing system.
How Can FortisMate Help with Bathroom Waterproofing?
At FortisMate, we focus on developing practical waterproofing solutions for different construction environments.
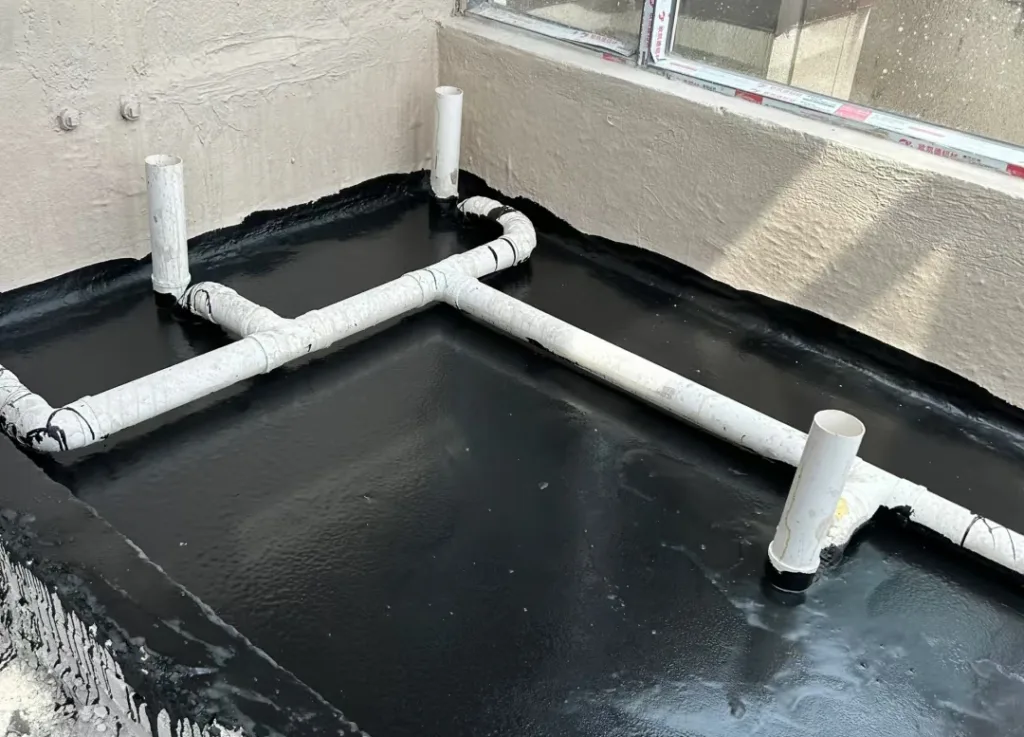
Our waterproofing portfolio covers multiple technologies, including:
- Polymer-modified cementitious waterproofing
- Self-adhesive waterproofing membranes
- HDPE waterproofing membranes
- TPO waterproofing membranes
- PVC waterproofing membranes
- EPDM waterproofing membranes
- Other waterproofing and repair solutions
Instead of applying the same product to every project, FortisMate supports customers in selecting waterproofing systems according to the substrate, application environment, construction method, and project requirements.
For contractors, distributors, waterproofing specialists, and building-material companies, we can also provide OEM and customized waterproofing solutions for different markets.
Conclusion: Build a Waterproof Bathroom from the Start
Bathroom waterproofing is a relatively small part of the overall construction process, but it can have a significant impact on the long-term durability of a building.
A reliable system should combine:
Proper substrate preparation + suitable waterproofing material + correct detailing + professional installation + appropriate inspection and testing.
Whether the project requires cementitious waterproofing, self-adhesive membranes, HDPE, TPO, PVC, or another waterproofing technology, the waterproofing system should always be selected according to actual project conditions.
With a broad range of waterproofing technologies and customized solutions, FortisMate provides waterproofing materials for contractors, distributors, construction companies, and project owners around the world.
Looking for the right bathroom waterproofing solution for your project? Contact FortisMate to discuss your application and waterproofing requirements.