welcome
-
linshizi@fortismate.com ; sales@fortismate.com



Waterproofing Membrane Installation Guide for Foundations, Basements, and Roofs
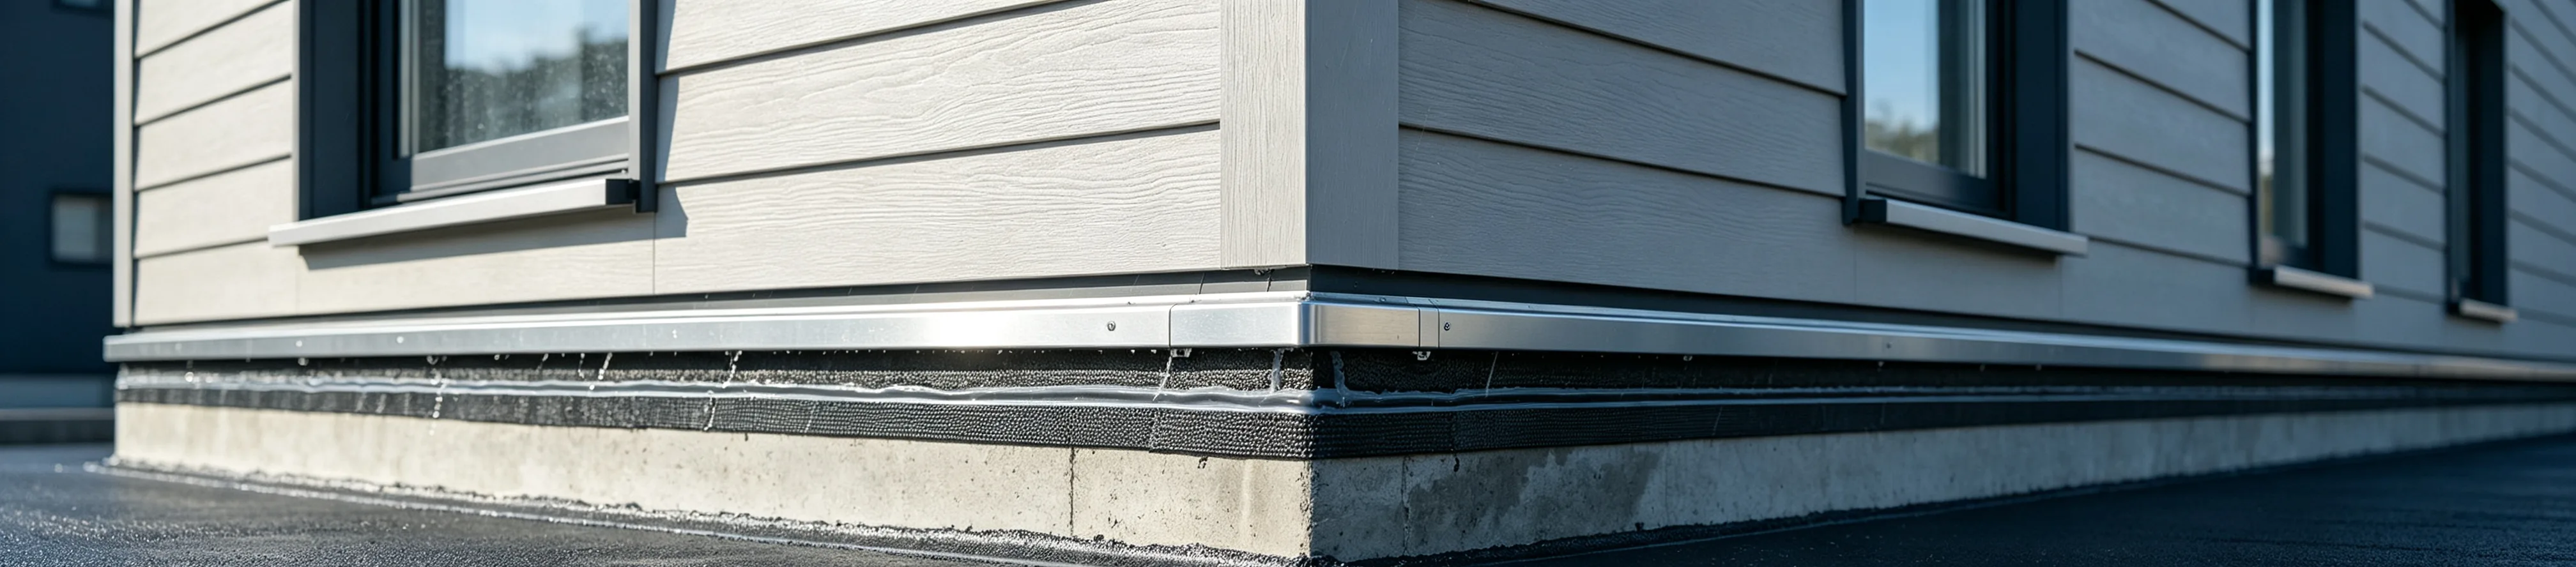
Waterproofing membrane installation is essential for protecting buildings against water infiltration, moisture damage, and premature deterioration. Whether applied to foundations, basements, or roofs, a properly designed and installed waterproofing system helps maintain structural durability and protects the building interior.
FortisMate provides a range of waterproofing materials for different construction applications, including bituminous membranes, self-adhesive membranes, pre-applied membranes, and liquid-applied waterproof coatings. Understanding the basic installation process can help property owners, contractors, and construction professionals make informed decisions about their waterproofing projects.
Why Is Waterproofing Membrane Installation Important?
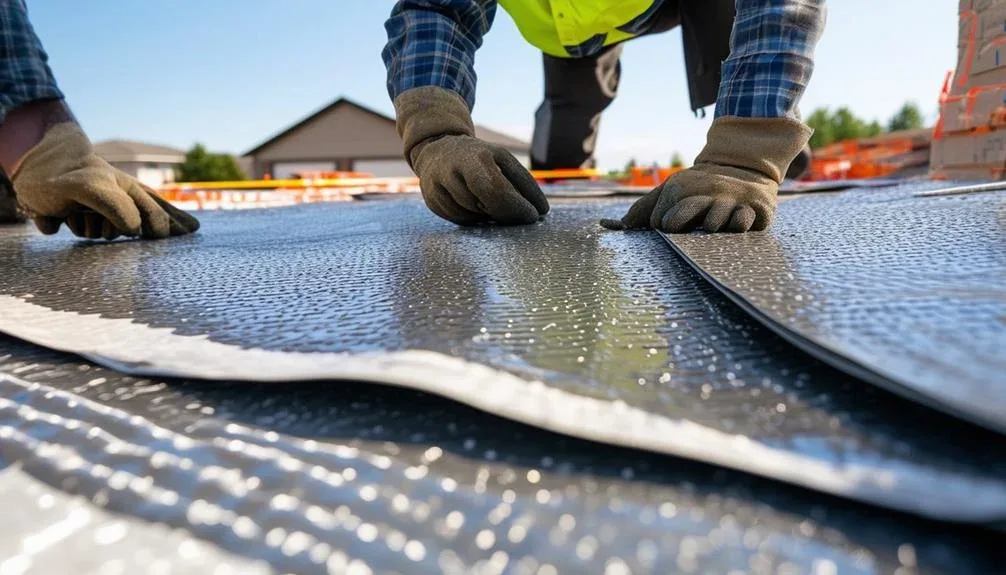
Water can enter buildings through cracks, construction joints, porous concrete, and poorly sealed connections. Over time, moisture infiltration may contribute to concrete deterioration, corrosion of embedded reinforcement, mold growth, and damage to interior finishes.
Waterproofing membranes create a protective barrier against water penetration. For below-ground structures, groundwater pressure and soil moisture must be considered when selecting a waterproofing system. For roofs and terraces, exposure to rain, sunlight, temperature changes, and standing water can affect system performance.
Choosing the right membrane and following the manufacturer’s installation instructions are essential for achieving reliable waterproofing results.
1. Foundation Waterproofing Membrane Installation
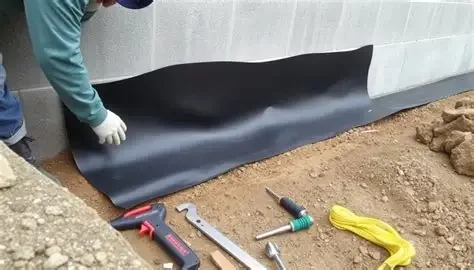
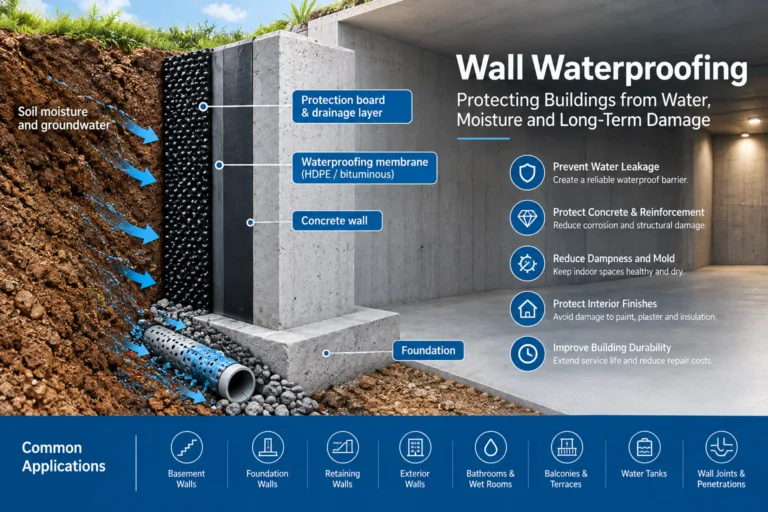
Foundations are particularly vulnerable to groundwater and soil moisture. Proper waterproofing helps protect foundation walls and below-ground structural components.
- Step 1: Prepare the Surface
Remove dust, dirt, loose particles, and other contaminants from the substrate. Repair cracks, holes, and surface irregularities using suitable repair materials. The surface must meet the membrane manufacturer’s requirements before installation begins.
- Step 2: Apply Primer if Required
Some waterproofing membranes require a compatible primer to improve adhesion. Others may be designed for application without primer. Always check the product’s technical data sheet (TDS) to confirm the correct preparation method.
- Step 3: Install the Membrane
Apply or position the membrane according to the specified installation method. For sheet membranes, carefully align adjacent sheets and seal all overlaps according to the manufacturer’s instructions.
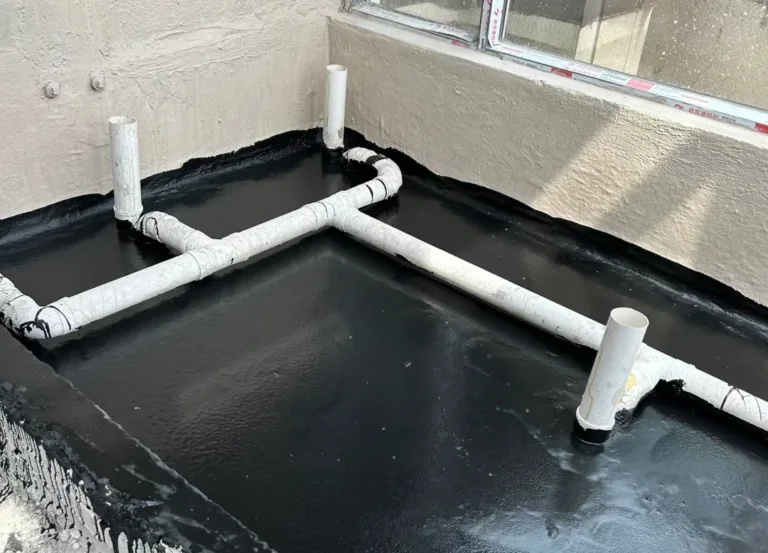
Pay particular attention to corners, construction joints, pipe penetrations, and transitions between horizontal and vertical surfaces. These details are common locations for water leakage if they are not properly treated.
- Step 4: Inspect and Protect the System
Check the installed membrane for gaps, wrinkles, punctures, and incomplete seals. Install the specified protection layer before backfilling, where required, to help prevent mechanical damage.
Drainage measures should also be considered to manage groundwater around the foundation.
2. Basement Waterproofing
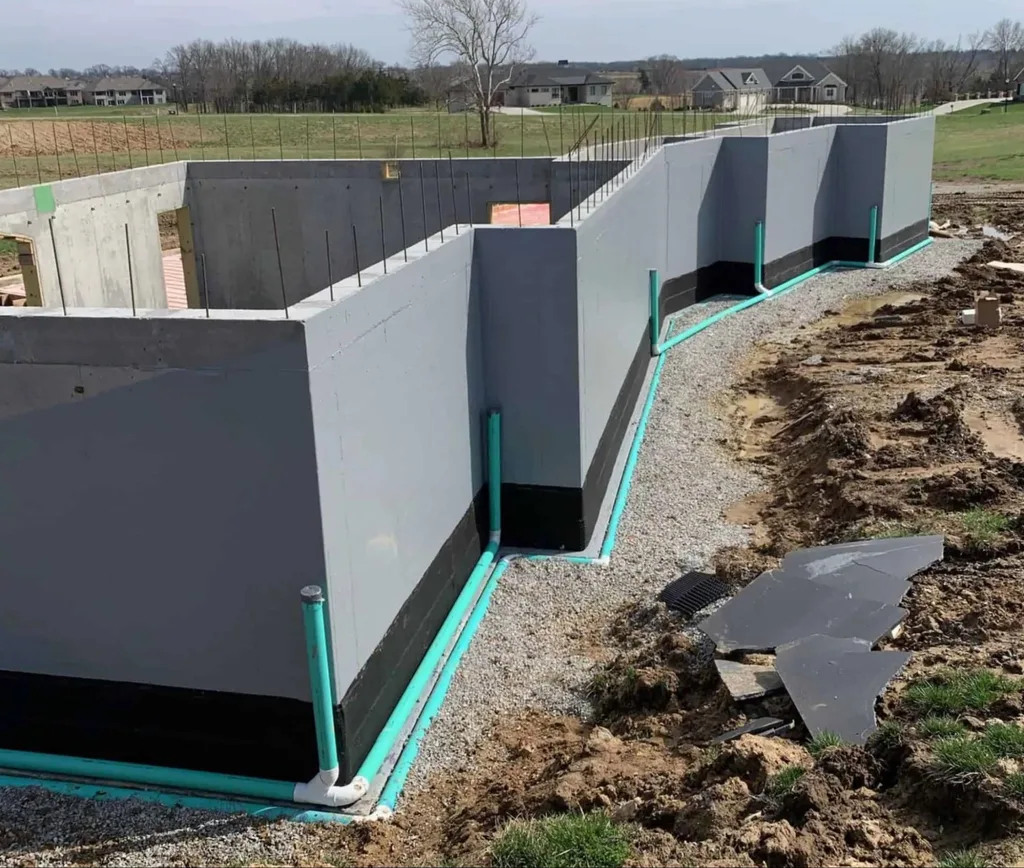
Basement waterproofing requires careful consideration of groundwater conditions, water pressure, and access to the exterior walls.
Exterior Waterproofing
Where access is available, exterior waterproofing can help prevent water from entering through below-ground walls. The process generally involves preparing the substrate, installing a suitable membrane, sealing critical details, and providing appropriate membrane protection.
Drainage boards or perimeter drainage systems may be incorporated into the overall design to help manage water around the structure.
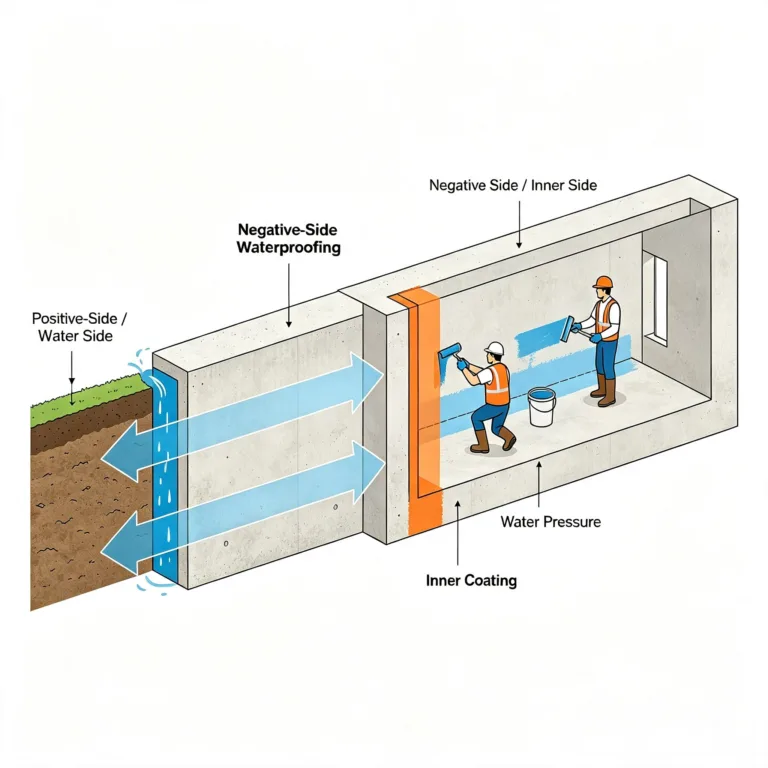
Interior Waterproofing
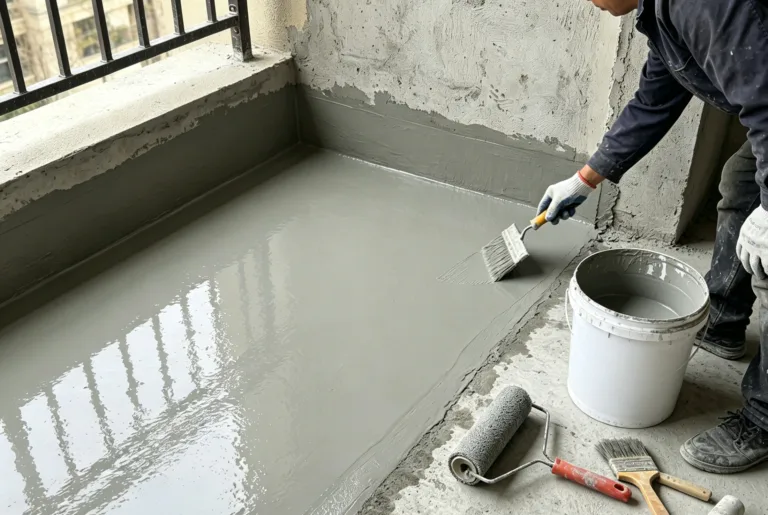
When exterior excavation is impractical, interior waterproofing or moisture-management measures may be considered. Depending on the source of the water, suitable solutions may include liquid-applied waterproofing systems, crack-injection materials, drainage channels, and sump pumps.
It is important to identify the cause of water ingress before selecting a solution. Interior coatings alone may not resolve water infiltration caused by significant external hydrostatic pressure. A qualified professional should assess persistent leakage or structural cracks.
3. Roof Waterproofing Membrane Installation
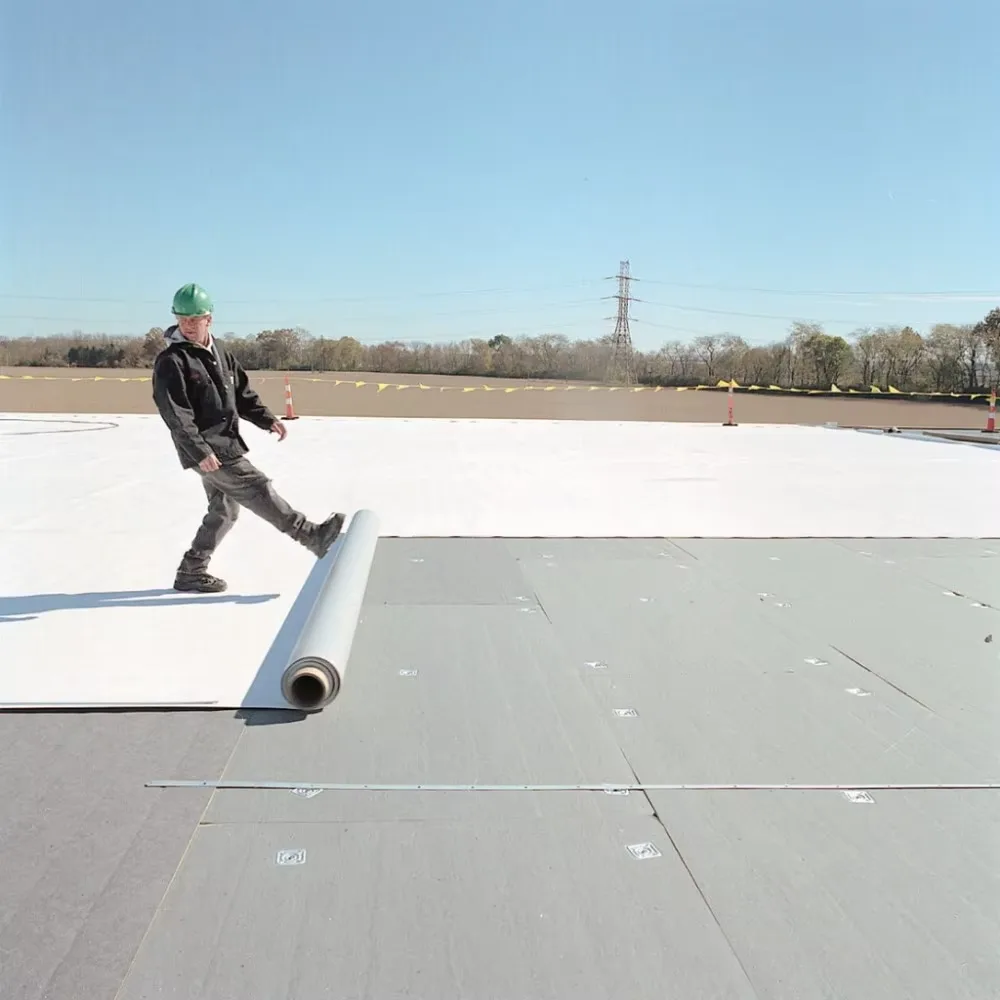
Roof waterproofing protects the building from rainfall and environmental exposure. The installation method depends on the roof structure, membrane type, and specified roofing system.
- Step 1: Inspect and Prepare the Roof
Remove dirt, debris, and loose materials. Repair damaged areas and confirm that the substrate is suitable for the selected membrane.
Check roof drainage and address design or drainage issues that could lead to persistent water accumulation.
- Step 2: Install the Waterproofing Membrane
Position and install the membrane according to the manufacturer’s instructions. Depending on the product, installation may involve self-adhesion, compatible adhesives, mechanical fastening, heat welding, or other approved methods.
Ensure that seams, edges, roof outlets, parapets, and penetrations are properly detailed. Overlap dimensions and joint-sealing methods must follow the requirements of the specific membrane system.
- Step 3: Inspect the Finished Installation
Check for open seams, trapped air, wrinkles, damaged areas, and poorly sealed details. Where the membrane requires a protective or finishing layer, install it according to the system specifications.
4. Common Installation Mistakes to Avoid
Even a high-quality waterproofing membrane can underperform if it is installed incorrectly. Avoid these common mistakes:
- Poor surface preparation: Dust, loose particles, and unsuitable substrate conditions can compromise adhesion.
Incorrect overlap or joint treatment: Inadequately sealed seams may create pathways for water infiltration.
- Incompatible materials:** Primers, adhesives, sealants, and membranes must be compatible with one another.
- Unsuitable weather conditions:Temperature, humidity, and surface moisture can affect installation and curing.
- Insufficient protection: Membranes may be damaged by backfilling, construction traffic, or subsequent building work.
Always follow the product-specific technical data sheet, installation guide, and applicable local building codes rather than applying the same installation parameters to every membrane.
5. Waterproofing Maintenance and Inspection
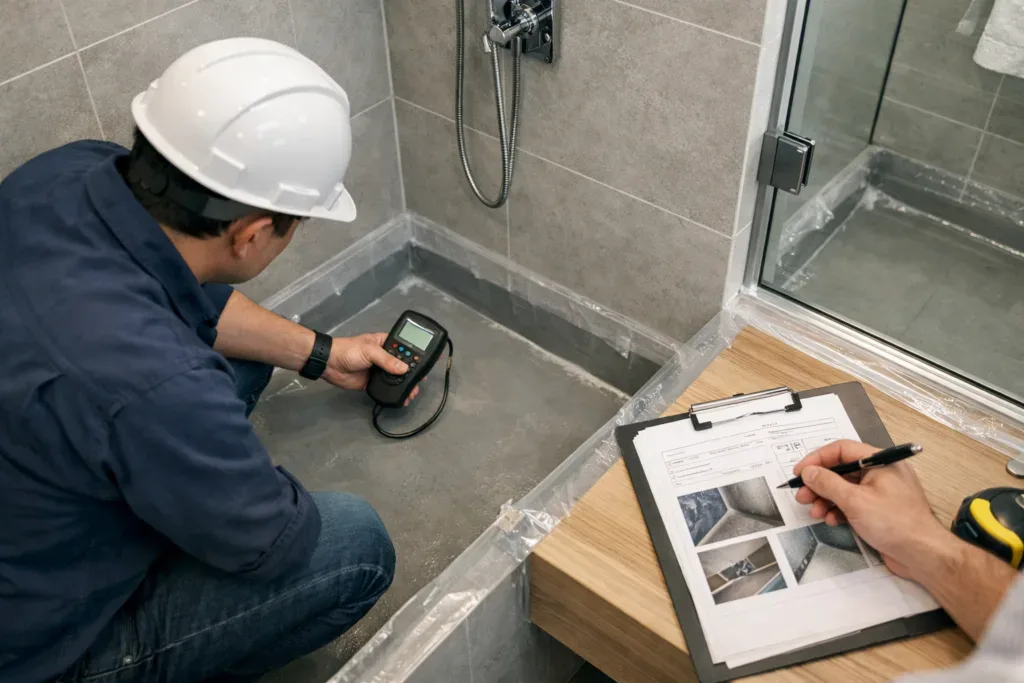
Regular inspections help identify potential problems before they develop into costly repairs.
For foundations and basements, monitor signs of water ingress, cracks, and drainage problems. For roofs, inspect seams, flashing, outlets, and other vulnerable details, particularly after severe weather.
Keep gutters and drainage outlets clear, and arrange prompt repairs if damage is discovered. Any repair materials used should be compatible with the existing waterproofing system.
Choose the Right Waterproofing Solution with FortisMate
Successful waterproofing depends on selecting suitable materials, preparing the substrate correctly, and ensuring that every joint and detail is properly treated.
FortisMate offers waterproofing material solutions for a range of building applications, from foundations and basements to roofs and terraces. The appropriate system should be selected according to project requirements, substrate conditions, exposure, and local construction standards.
Looking for a suitable waterproofing membrane for your next project? Contact FortisMate to discuss your application and explore the available waterproofing solutions.